Beginning Your Snowshoeing Adventure

Dip Your Toe in Snowshoeing
Each year, as the temperatures of autumn remind me that hiking and backpacking season is coming to an end, I start to feel as if my 7th grade best friend is moving away. Hiking is my oasis; it allows me to get away from the real world. I spend time in nature, mull over my thoughts, and enjoy the company of my friends and loved ones. I get really sad when it gets to that time of year where it won’t be a weekly occurrence for me to be out exploring the great outdoors!
Now, if you live in a place like San Diego where you can hike all year, you’re lucky and I hate you. Sorry I said that – I don’t hate you, but I AM jealous. For the rest of us in the US, the deep snow and cold temperatures make hiking a bit tough. In recent years, I decided to dabble in snowshoeing. I figured it’s the winter sport that’s most like hiking and thought it might be a good way to tide me over until the warmth of Spring returns. Boy oh boy, was I right! Snowshoeing is challenging and beautiful. Seeing the same trails I love to explore during the summer months covered in glittery snow is amazing. Snowshoeing might seem intimidating, but I can’t recommend it enough. With a little information and the right winter gear, I know you’ll love it just as much as I do.
Starting of Right
Similar to hiking and backpacking, the hardest part is making the decision to try snowshoeing! Once you have decided to take the plunge, it’s all about preparation. You’ll need to have proper clothing and gear as well as a basic understanding of how the sport works. Don’t worry, we will cover all of that! You know I wouldn’t leave you hanging without some good guidance on the topic.
If you’re unsure of how to get started or feeling uneasy about trying it out, I’d highly recommend making a trip to REI or your local sporting goods store. They’ll help you find great gear and will probably even recommend good beginner trails. There are lots of people who want to help you jump in! Don’t let some minor obstacles stop you from giving it a try.
Snowshoeing Safety
I love a solo hike just as much as the next person, but I do not recommend snowshoeing alone. Being in deep snow by yourself is dangerous and if anything goes wrong, you don’t have much time to get help before the elements become too much. Here are my top snowshoeing safety tips:
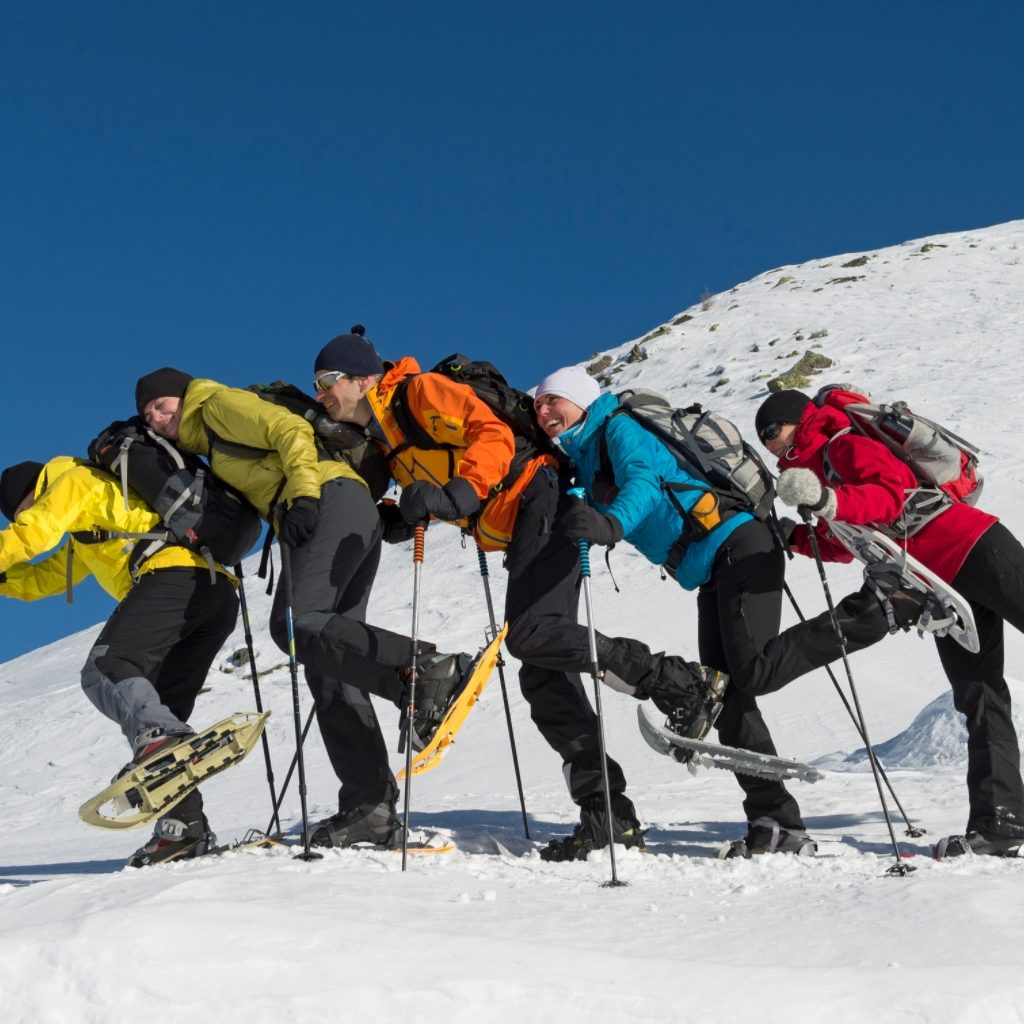
- Bring a Buddy. I’m saying this again to reiterate its importance: DON’T GO ALONE. I don’t want to hear any backtalk from you on this one, just don’t do it.
- Research the trail ahead of time. Just like you don’t want to pick a hiking trail that’s too much for your fitness level, you don’t want to pick a snowshoeing trail that you can’t handle. Talk to experts in your area about the best places to snowshoe or go online to find a beginner trail. A lot of winter resorts have well-maintained trails that are good to start with so give one of those a call before you go.
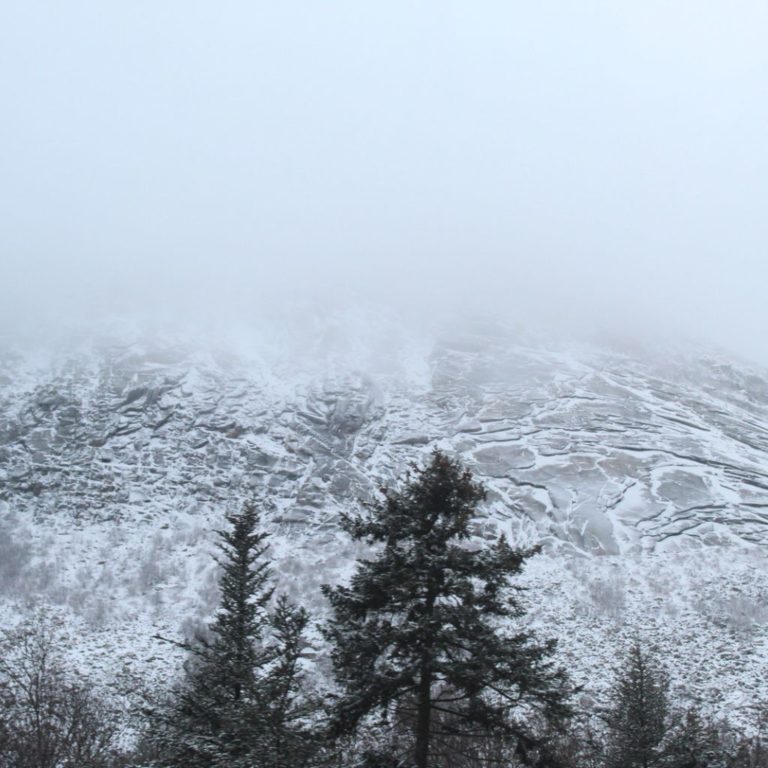
- Understand the risks. You’ll need to be aware of avalanche risks, areas with water, and weather patterns. Each one of these aspects can ruin your trip and put you in grave danger if you’re not careful. If the weather looks dicey or if you have a bad gut feeling, don’t go. Beginner snowshoeing is a blast until something goes wrong.
- Invest in proper gear. I’ll talk about the snowshoes themselves later, but clothing and gear are not something to skimp on while snowshoeing. A lot of cross-country skiing gear is great for snowshoeing because it’s meant to be in the snow and keep you dry.
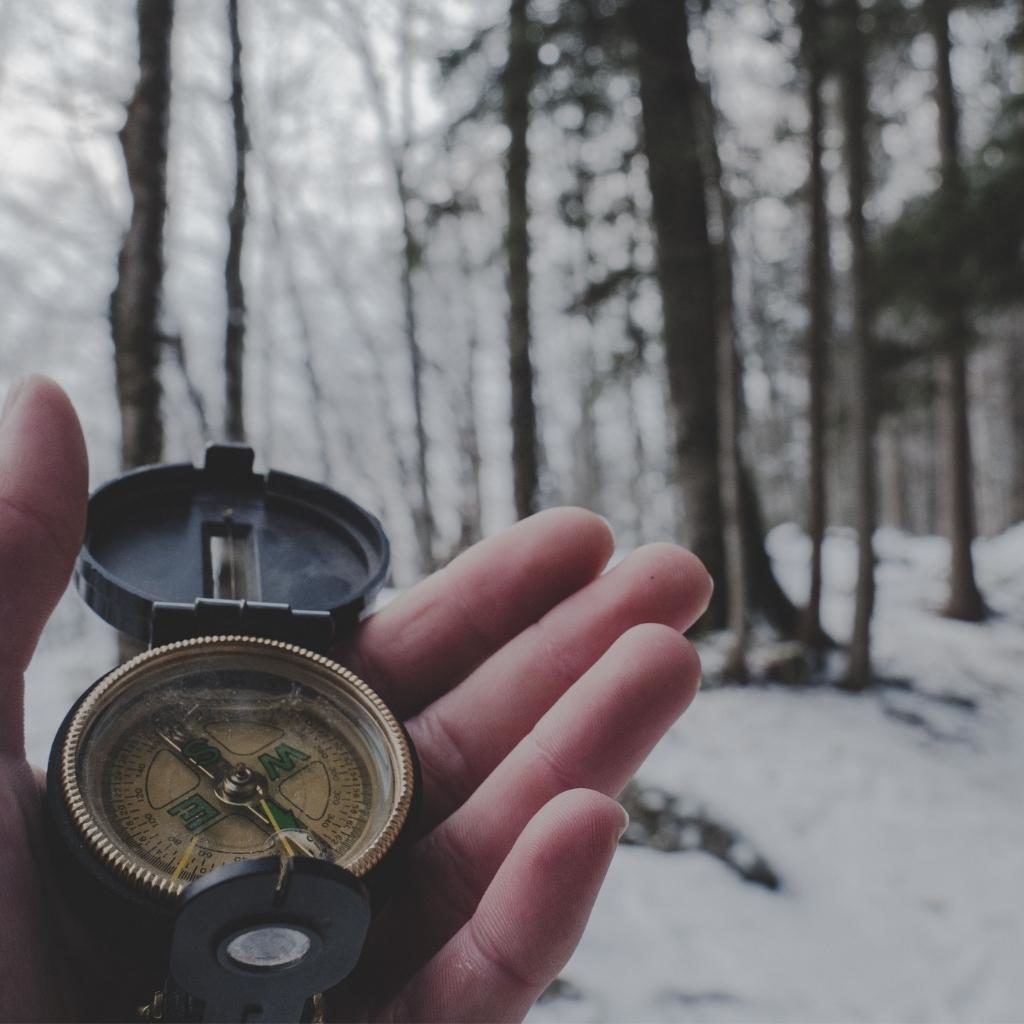
- Become a navigation expert. Navigation for snowshoeing isn’t very different from hiking but in the snow, landmarks may become harder to pick out and trail markers will likely be covered. Read my navigation article to become an expert and stay safe out there!
Snowshoeing vs. Cross-Country Skiing
If the outfits are the same, are the sports really that different? Though they are both winter sports and have intimate relationships with snow, they’re pretty different. Here are some of the biggest differences:
- Technique: Snowshoeing is a technique that’s very similar to hiking. You strap snowshoes to your boots and put one foot in front of the other. Though your stance may be wider than normal and ensuring you don’t sink into the snow is important, it’s easier to master than cross-country skiing. With cross-country skiing, even clipping into your skis properly can be tough. The sport itself is very different from the “walking” motion found in hiking and snowshoeing.
- Cost: Snowshoeing is more cost-effective! As a beginner, snowshoeing for the first time is very accessible. You’ll need good clothing for the elements and a pair of snowshoes, but there is no cost to do the activity itself. In cross-country skiing, there’s a lot more trail maintenance that goes into it, so skiing often requires people to pay high prices for their tickets each time they go.
- Terrain: As I mentioned above, snowshoeing terrain is a little more free form. You can find maintained trails and areas, but you can pretty much do it anywhere as long as you’re familiar with the terrain. Cross-country skiing needs the snow to be flat and packed down for optimal performance. In fact, snowshoers sometimes mess up cross-country trails by stepping over the tracks in their snowshoes. Try and avoid this if you’re anywhere that cross-country skiing is prominent!
- Skill-level: Since the technique is so similar to hiking, snowshoeing doesn’t require much skill, if any at all, to get started. Cross-country skiing is all about knowing how to navigate the snow on an apparatus that is VERY different from walking. Both sports are great workouts, but cross-country skiing generally requires a higher fitness level than beginner snowshoeing does.
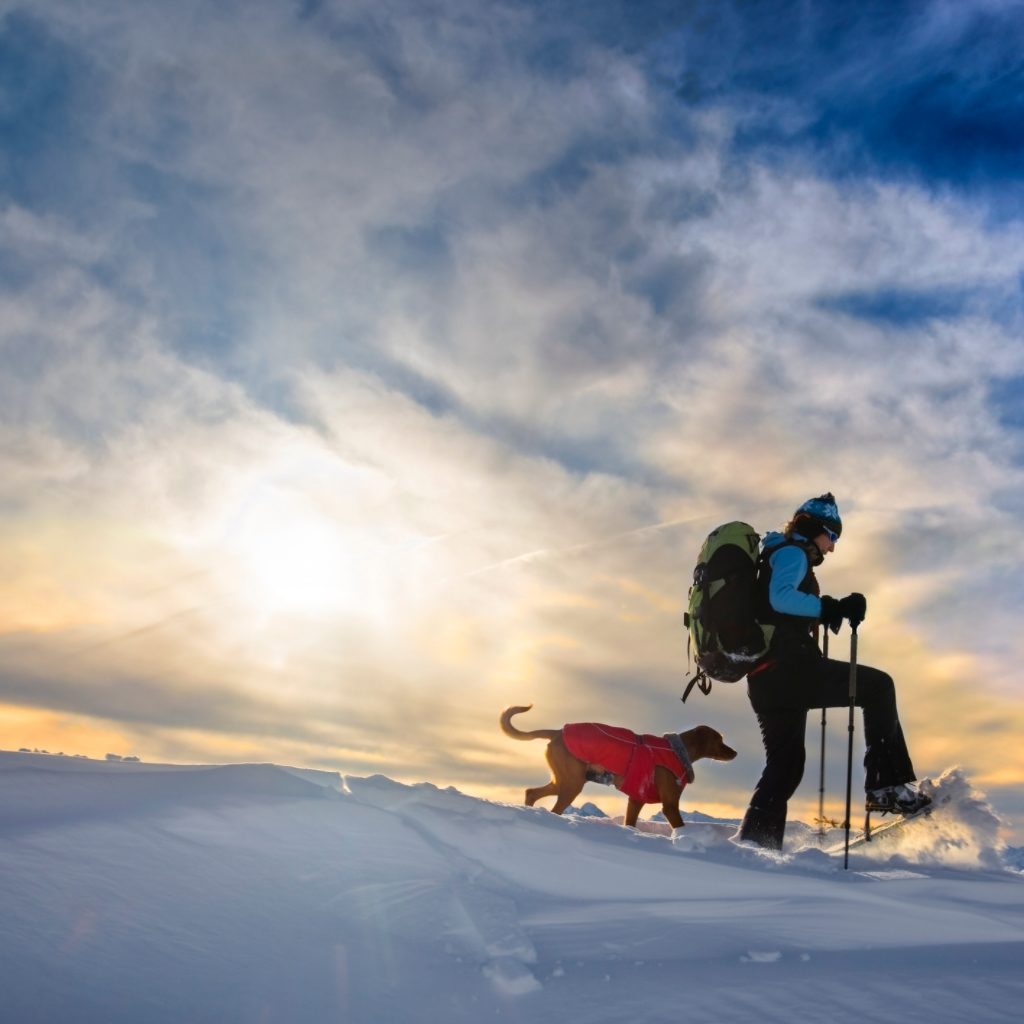
Both sports are fantastic ways to get outside during the winter months. I’m 100% biased toward snowshoeing (and I’m not afraid to admit it!!). For me, it helps me stay connected to hiking and keep my endurance and stamina ready for those spring backpacking trips. But hey, there’s no harm in trying both!
Putting the “Shoe” in Snowshoeing
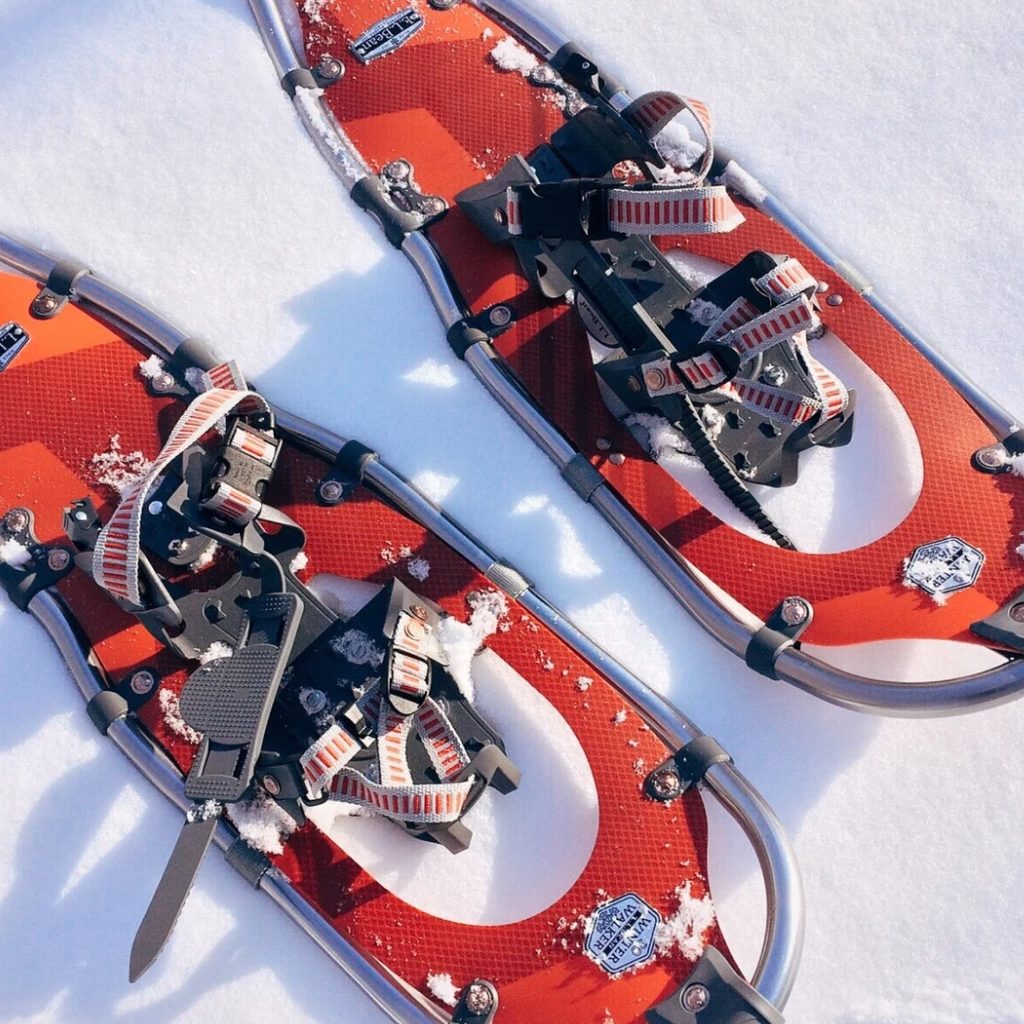
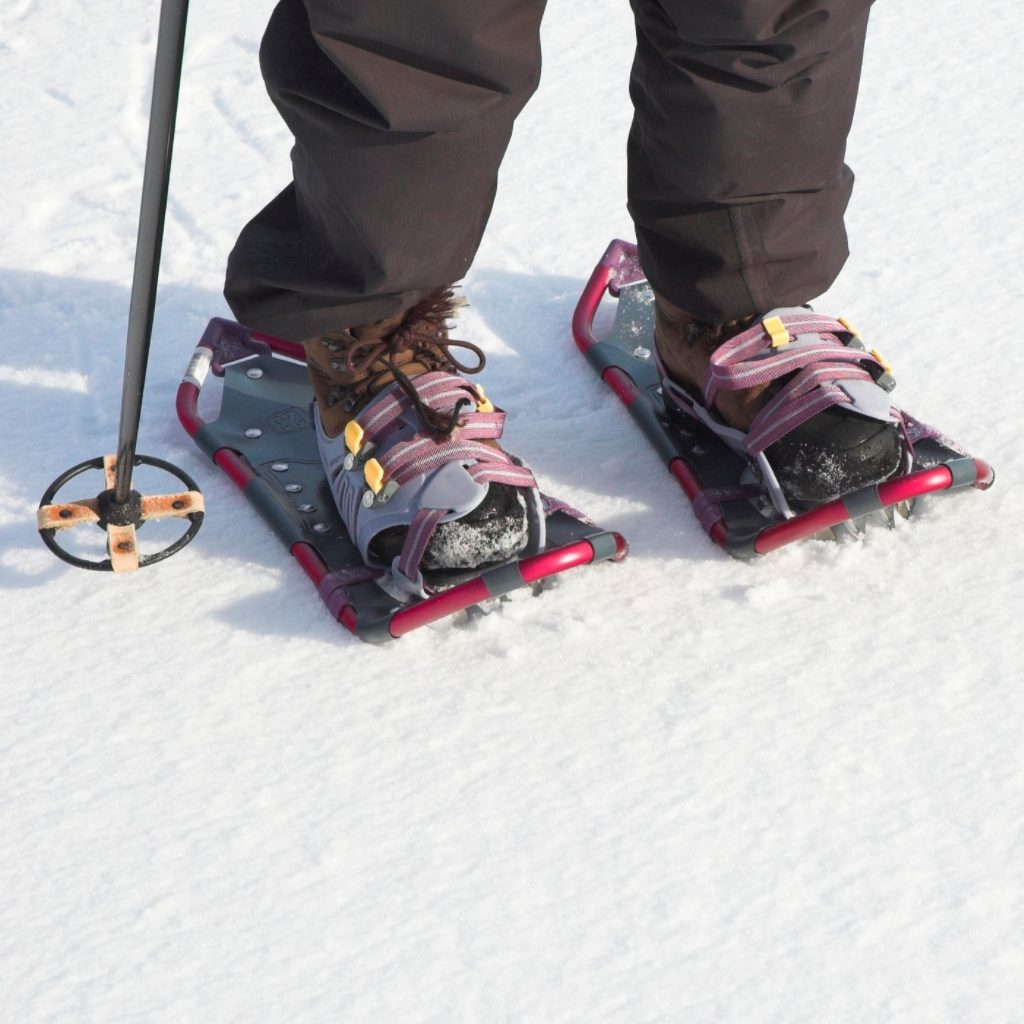
If you have athletic gear meant for winter sports, then really the only thing you have to purchase for snowshoeing is the pair of snowshoes themselves. The great thing about snowshoes is that they can strap on to virtually any pair of boots, so as long as you have warm, waterproof boots that can withstand low temps, finding snowshoes shouldn’t be too difficult. When you’re on the hunt for your snowshoes, there are a few things to keep in mind:
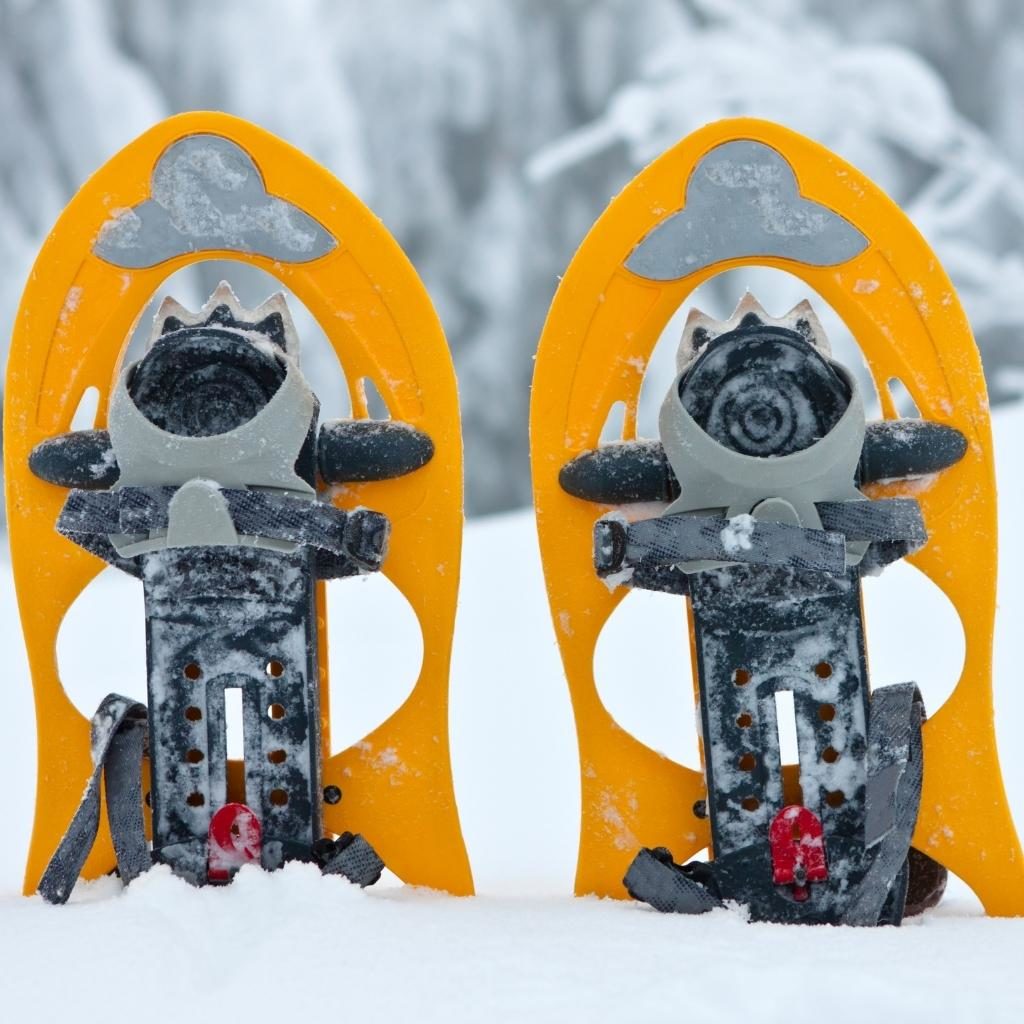
- Snowshoe frames are usually made of aluminum or composite. Frames that are aluminum are better for deep, powdery snow because they float better than composite shoes. Composite frames are best in packed snow and icy conditions. If you want composite shoes that can handle the powdery stuff, you can attach “tails” to your snowshoes to help them float better on top of fluffy snow. We’re walking on water here! It’s frozen water…but I still think it counts.
- The most important factor when selecting your snowshoes is weight, and that’s the weight of you PLUS your gear. If you get a pair of snowshoes that are not meant to hold your weight, you will sink into the snow and the sport will be, well, miserable. Don’t forget to factor your gear weight in. This is big – if you have a 20 lb. pack that sends you over the weight spec on your shoes, you’re in trouble. I recommend buying snowshoes with a little wiggle room in the weight limits, so you never run into this issue.
- Snowshoes are gendered. Men’s shoes tend to be bigger and able to hold more weight, while women’s are a bit smaller in order to keep the steps from being too big and awkward while trying to avoid stepping on your own frames.
- You can select two types of bindings on your snowshoes: free-rotation bindings or fixed bindings. Fixed bindings come with a secure fit and are great for getting around obstacles and walking backward. Free-rotation bindings offer more flexibility and move with the natural motion of your foot. These bindings are better at helping to prevent snow from piling up on your snowshoes.
- Make sure your snowshoes have heel lifts, AKA climbing bars. When you’re walking uphill, you can flip these babies under your heels to take some of the pressure off your calves and Achilles’ tendons. Something that makes you less sore the day after your beginner snowshoeing excursion?! Worth it!
Other Helpful Gear
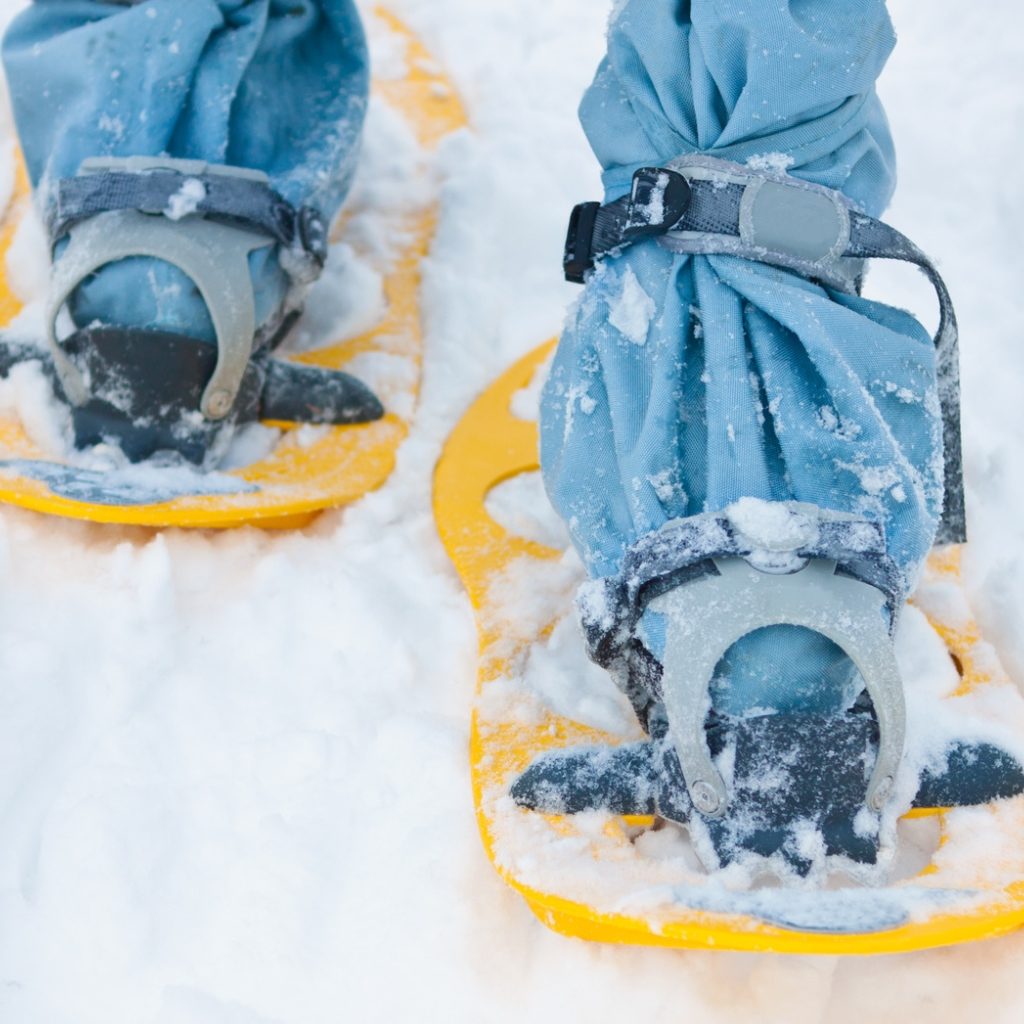
Your snowshoes are the most important gear to buy when beginning snowshoeing. You’ll also want to make sure you have snowshoe poles and snow gaiters. If you have been hiking or backpacking with poles, you know just how helpful they can be as you’re climbing up and down a mountain, and beginner snowshoeing is no different. Even the experts use poles to help maintain balance and steadiness. Snow gaiters help to keep snow out of your boots by providing a seal near your ankle, above your boots. Walking around with snow melting in your shoes is more annoying than trying to get around a slow walker in a crowded hallway, so don’t skip the shoe gaiters.
Planning Your Trip
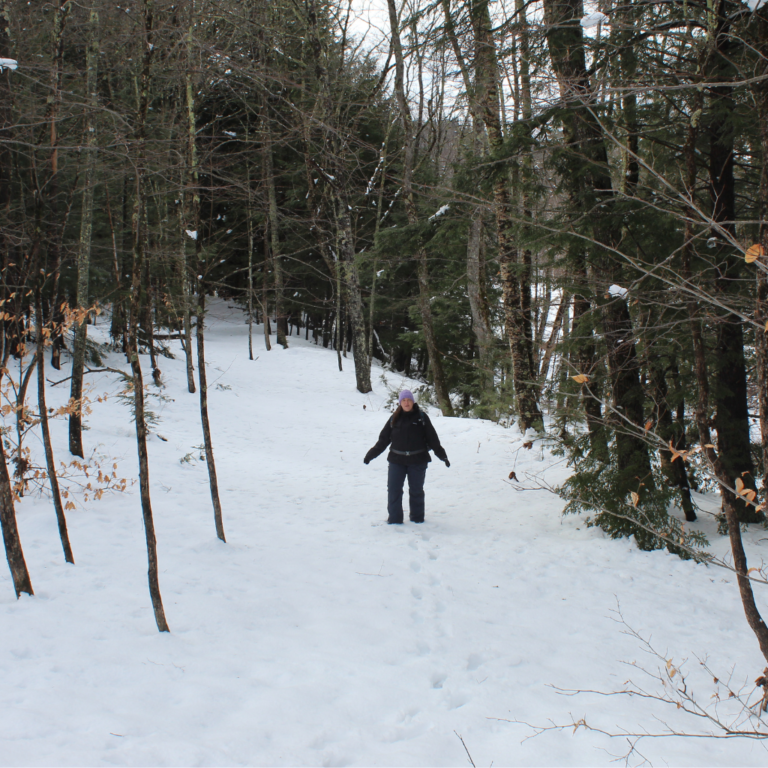
As a beginner snowshoeing, don’t try and push yourself too hard the first time you try this sport. I recommend doing a little snow “walk” to test your gear, get comfortable with your technique, and learn how much energy this sport expends. Once you have done a snow walk or two, plan a small uphill trek. Find a trail you know and love that’s 1-2 miles roundtrip and do that first. You really want to build your way up, even more slowly than in hiking. Snowshoeing for beginners will test your capabilities and your endurance, and there’s no shame in taking that slow.
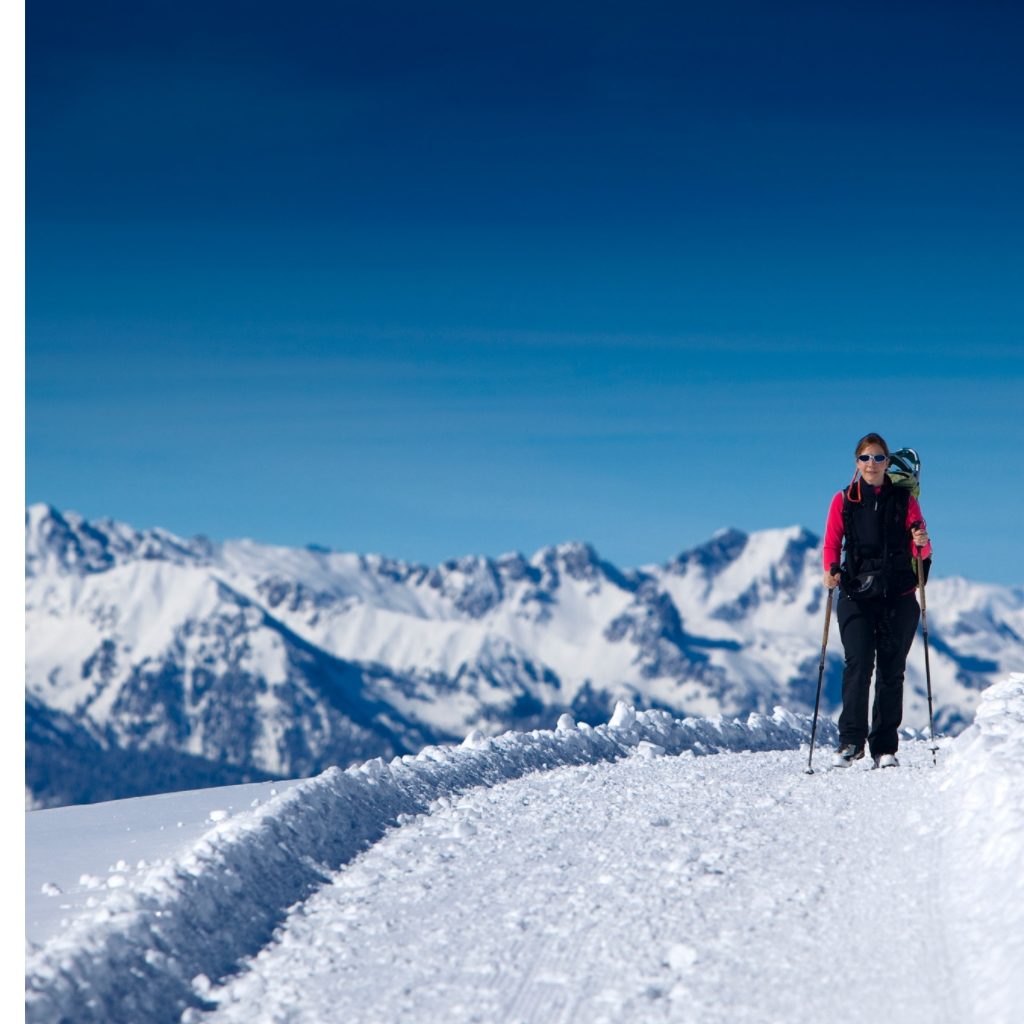
Keep in mind that if you get exhausted or feel like you can’t complete your trip, it’s not as easy to sit down on a rock and rest for a few minutes like you can usually do in hiking. Temperatures are cold, everything is wet, and you don’t have the luxury of time on your side. Since snowshoeing happens in the winter, it also usually gets dark earlier in the day. Once you’re ready for longer trips, make sure you’re giving yourself plenty of time to get back to the trailhead before dark.
Technique Hacks
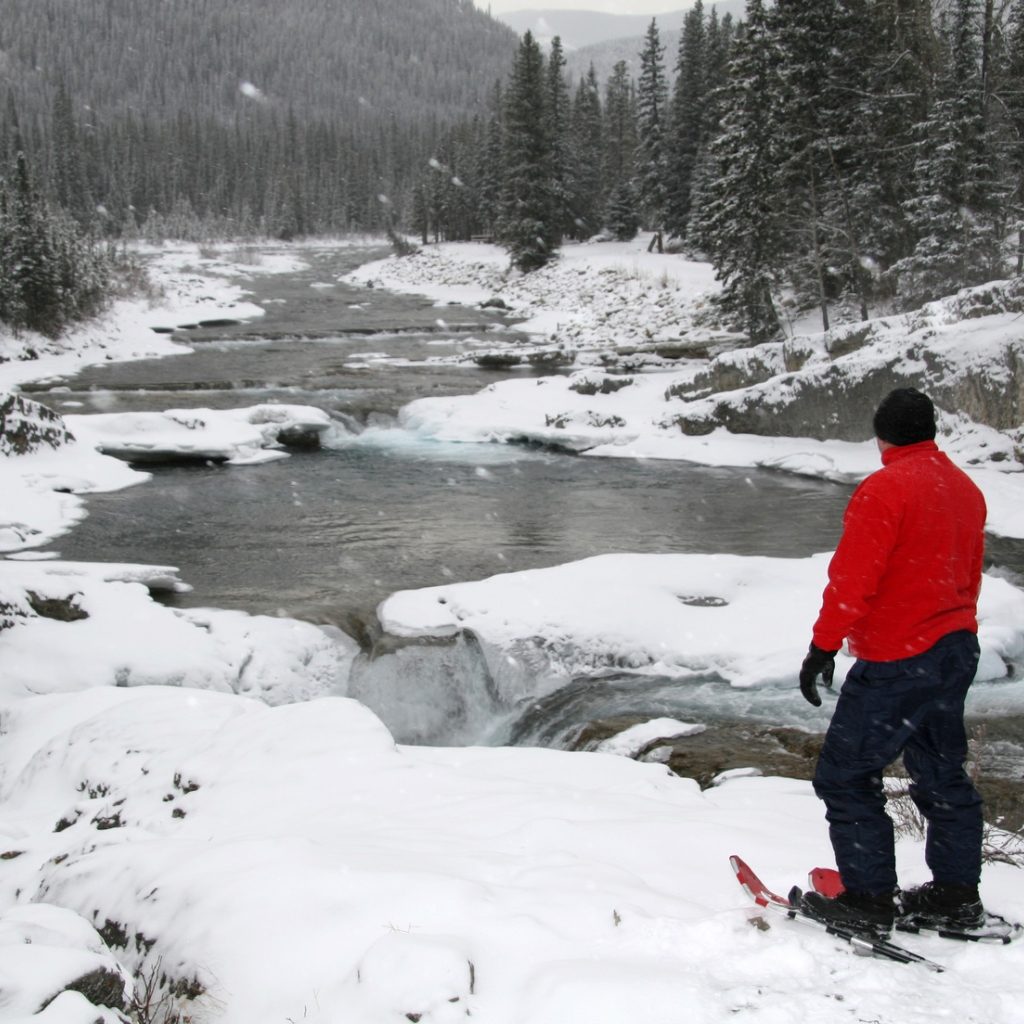
As you come across different terrain in your beginner snowshoeing journey, you’ll need to have different tricks in your bag to handle it all:
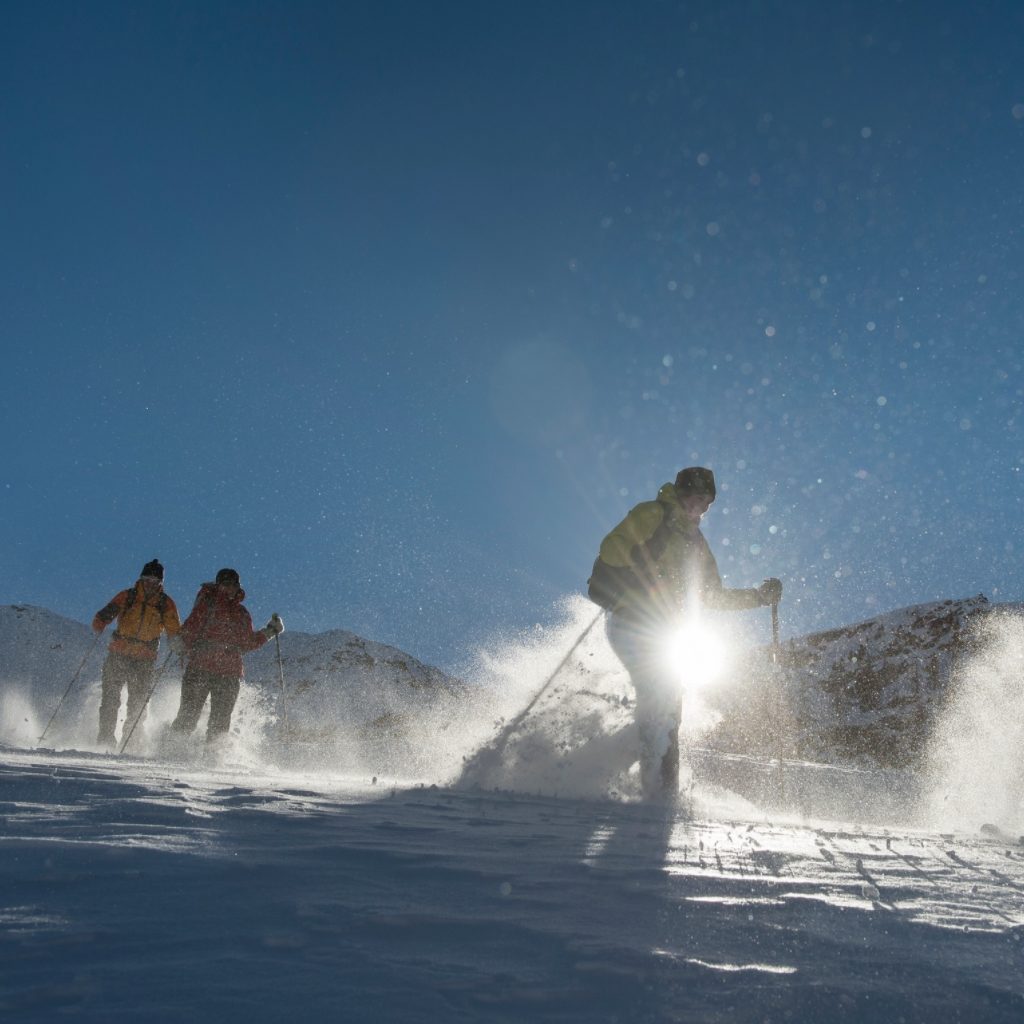
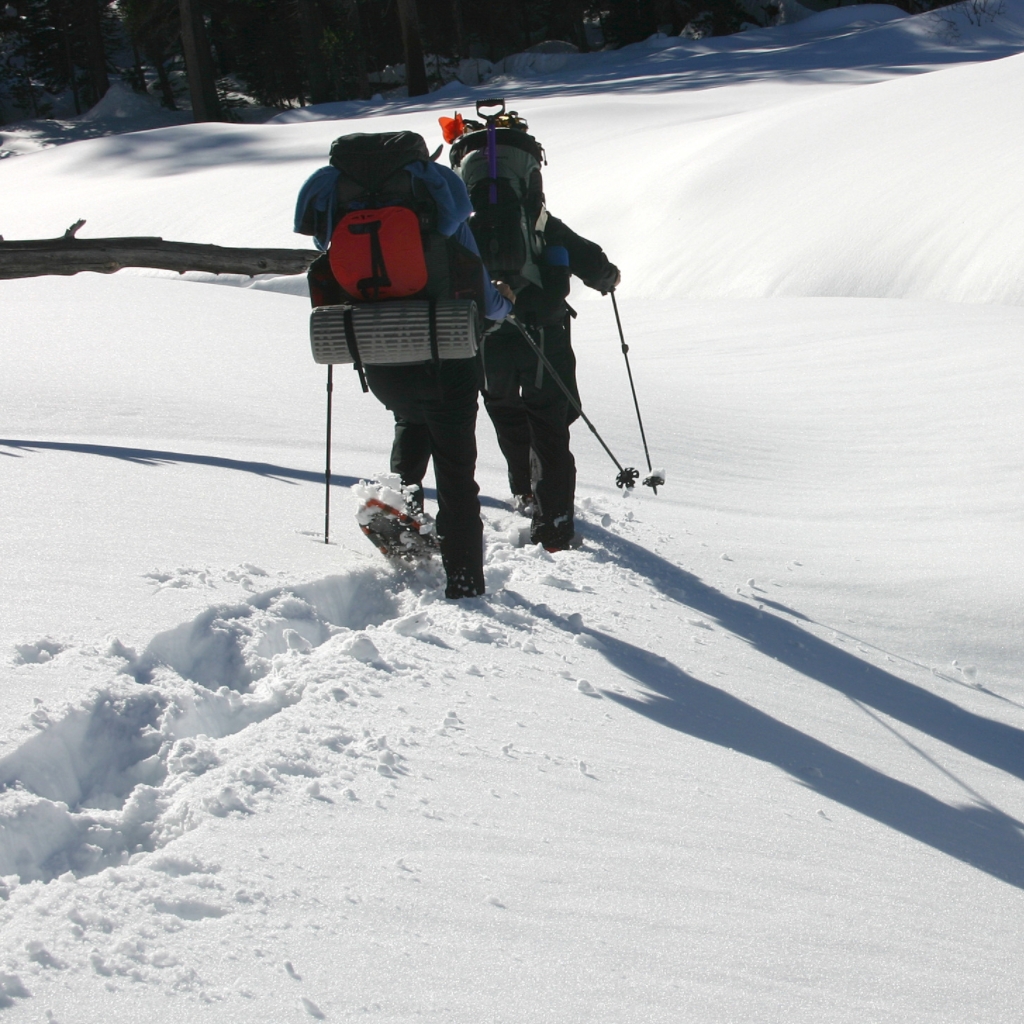
- Flat Terrain: When you go on your beginner snowshoeing “snow walks” without much incline, you’ll notice that your stance has to be a bit wider than it is when you’re walking normally. Since the snowshoes look like tennis rackets, be careful that the frames don’t step on one another as you take each step.
- Powdery Uphill: Use the kick-step technique in this type of terrain. When you pick your foot up to take a step, kick your toe into the snow to create a step.
- Packed Uphill: If the snow is packed, you won’t be able to kick into it, so you’ll have to rely on the traction of your snowshoes to climb up the snow. You can use your heel bar to keep your foot in a neutral position for those long uphill treks.
- Downhill: You’ll want to have your poles in front of you for added balance and keep your weight back and your knees relaxed. If you slip on your descent, you can simply sit down to stop from sliding.
- Traversing: When you’re traversing — going across a hill instead of up or down it — you’ll need to use the side of your snowshoes to create a shelf to walk on. It’s similar to the kick-step technique but this doesn’t use your toes.
Who Knew Cold, Wet, and Hard Could be Fun!!
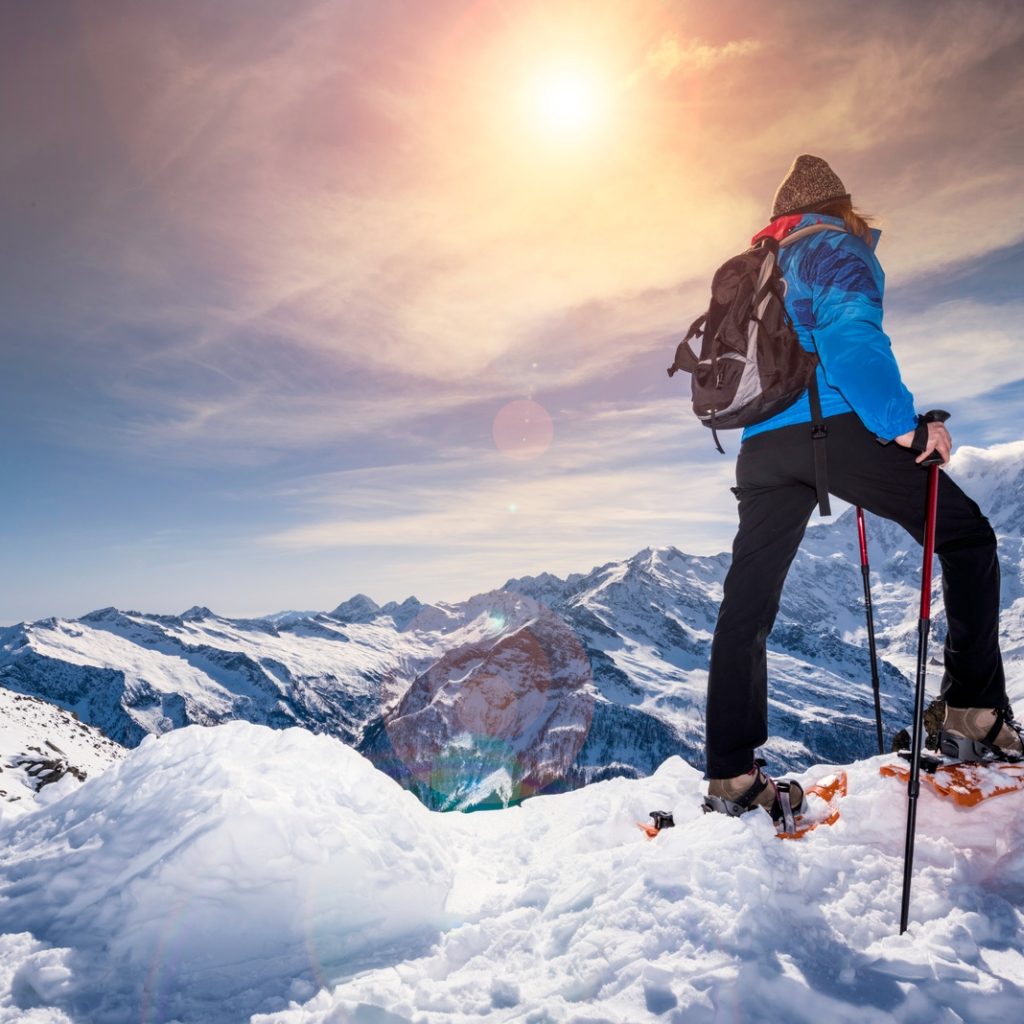
At first, I was super intimidated by snowshoeing for beginners. I knew I loved hiking but with beginner snowshoeing it can feel like there are more factors working against you (snow, temperature, etc.). While these factors can make it challenging, it’s a fun challenge. Go try it out with some friends! Put a warm soup or your favorite winter dinner on when you get back, and enjoy some hot chocolate. You’ll be transported back to your childhood and days playing in the snow, and there’s really nothing better than that feeling.
